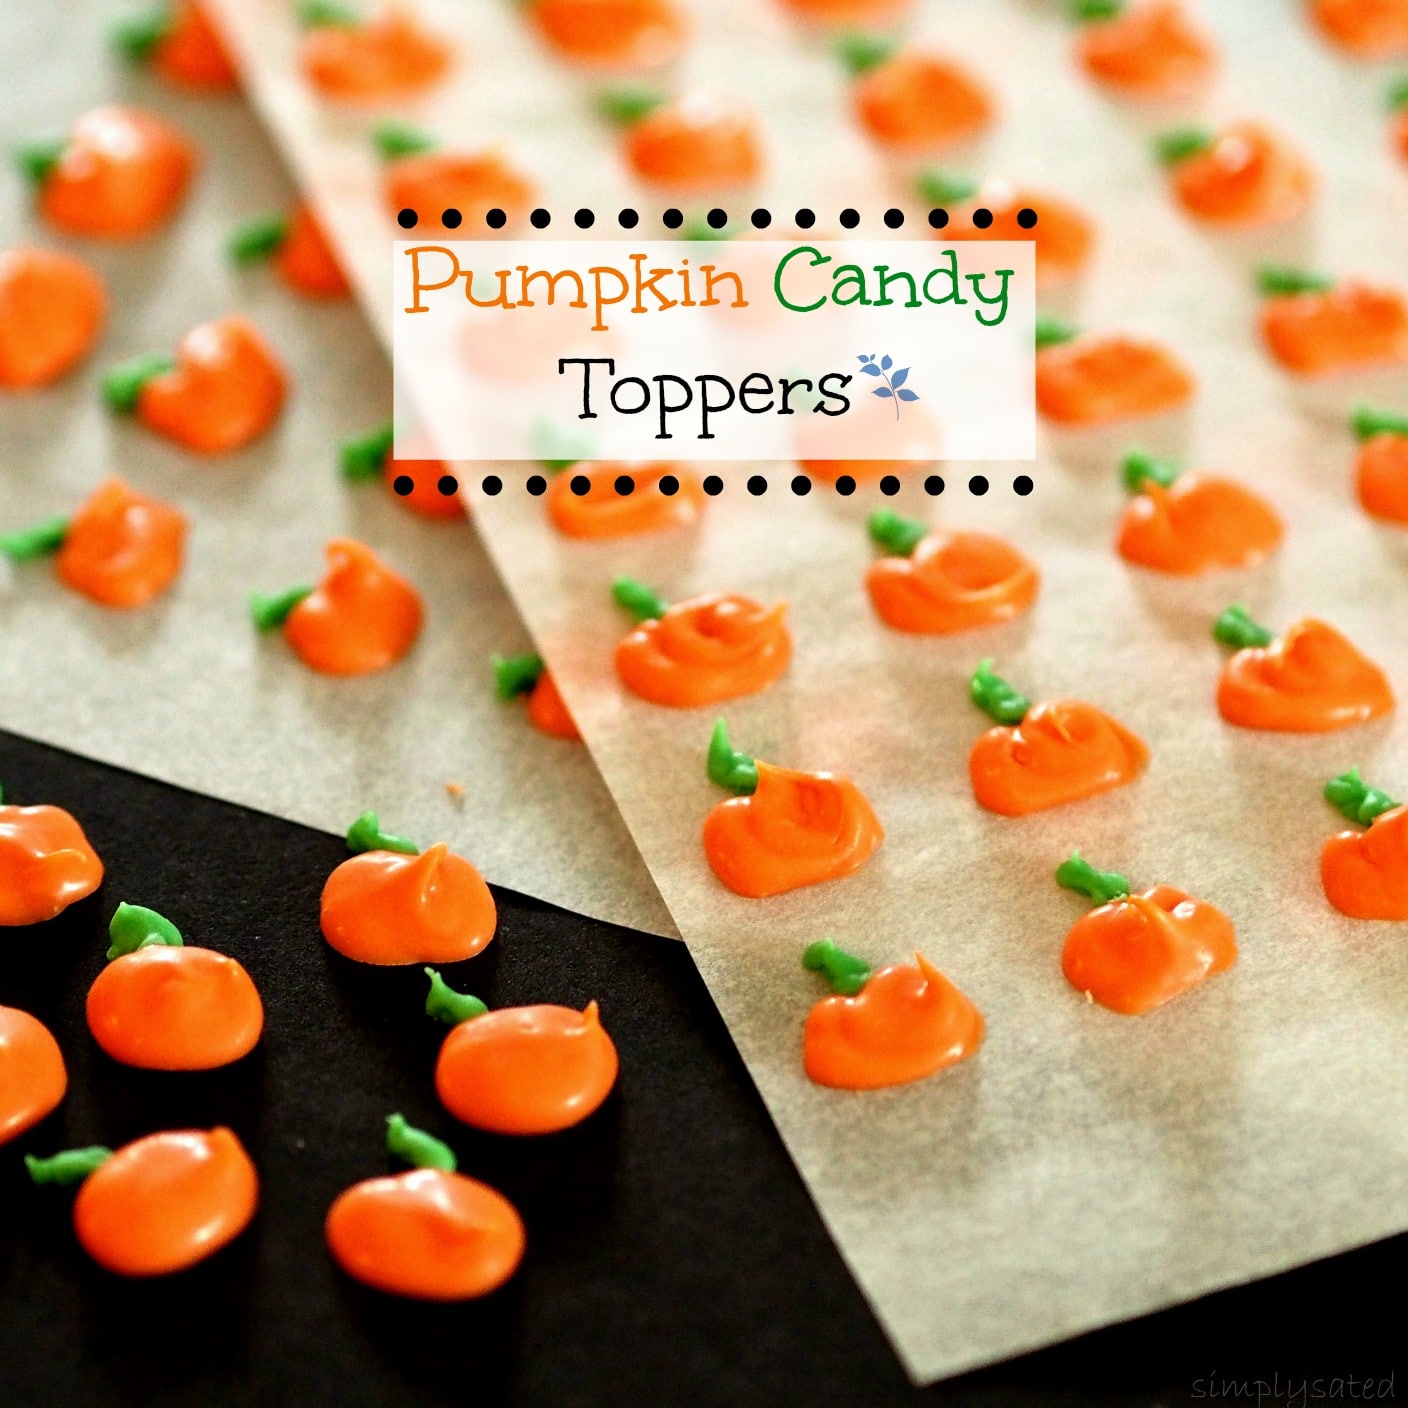
Who needs Pumpkin Candy Toppers? If you raised your hand, today is your lucky day!
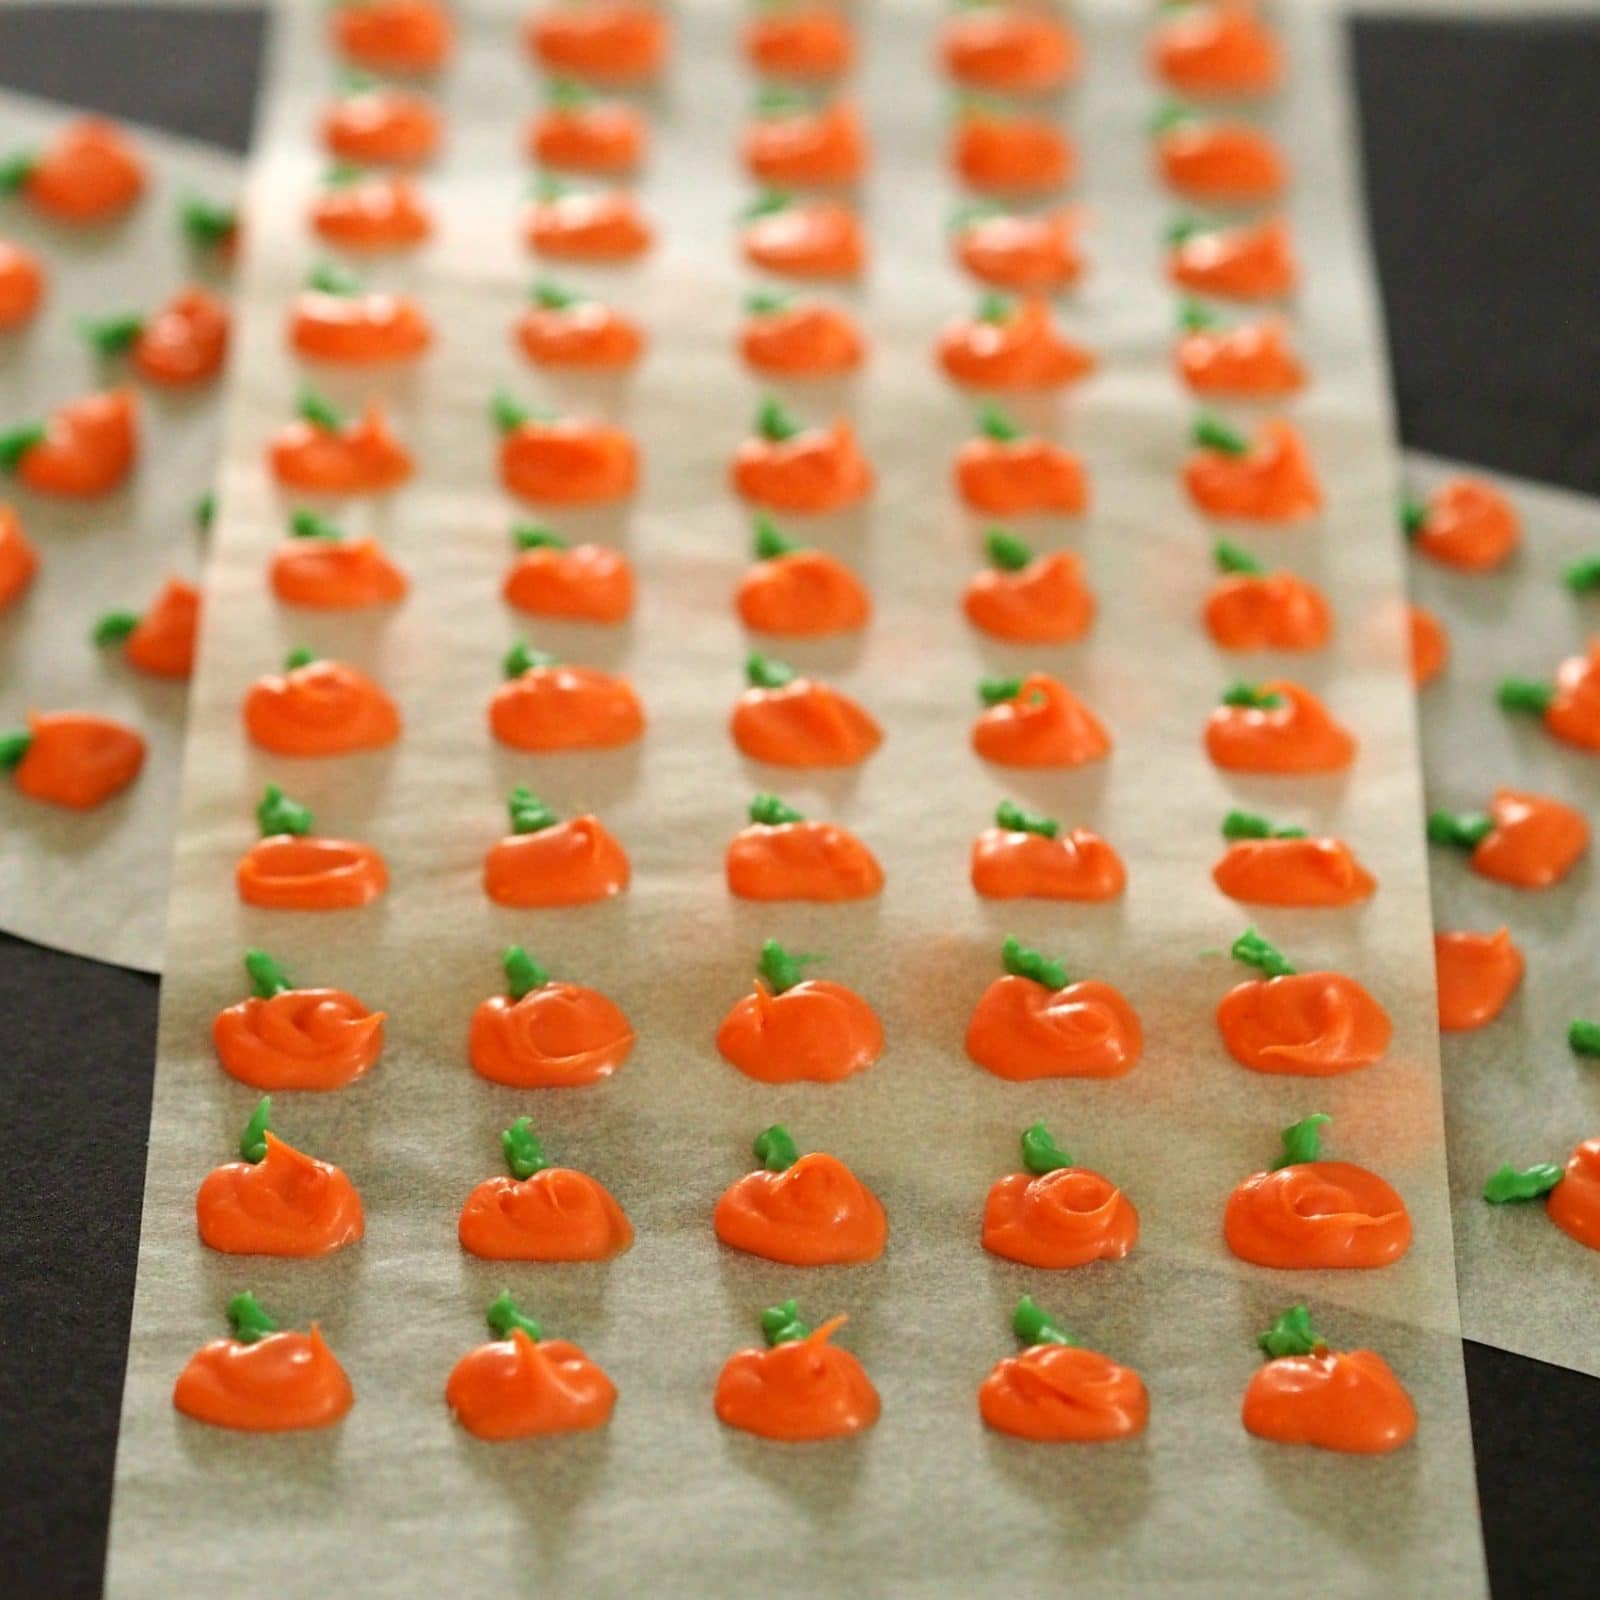
These cute-as-a-button pumpkin toppers are easy and quick to make. All you need is Wilton’s Candy Melts (or white melting chocolate & food coloring), decorating bags (or Ziploc baggies) and tips and a template (unless you have a steady hand and an artistic streak).
Like I said – so, so easy and quick.
Here are some ways they should be used:
…as cupcake toppers,
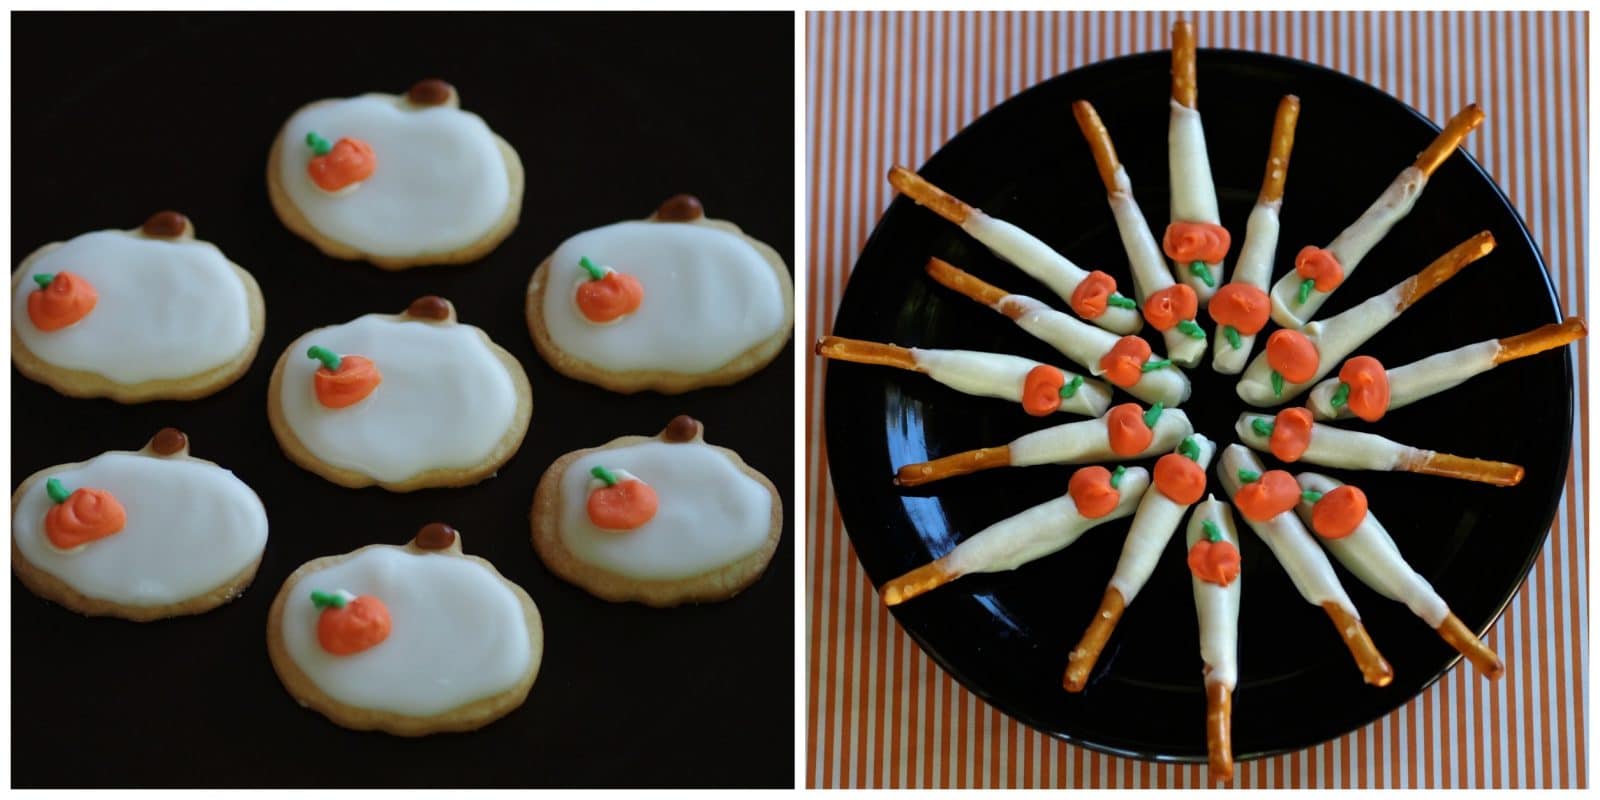
…as cookie decorations,
…as cake decorations,
…on top of pancakes,
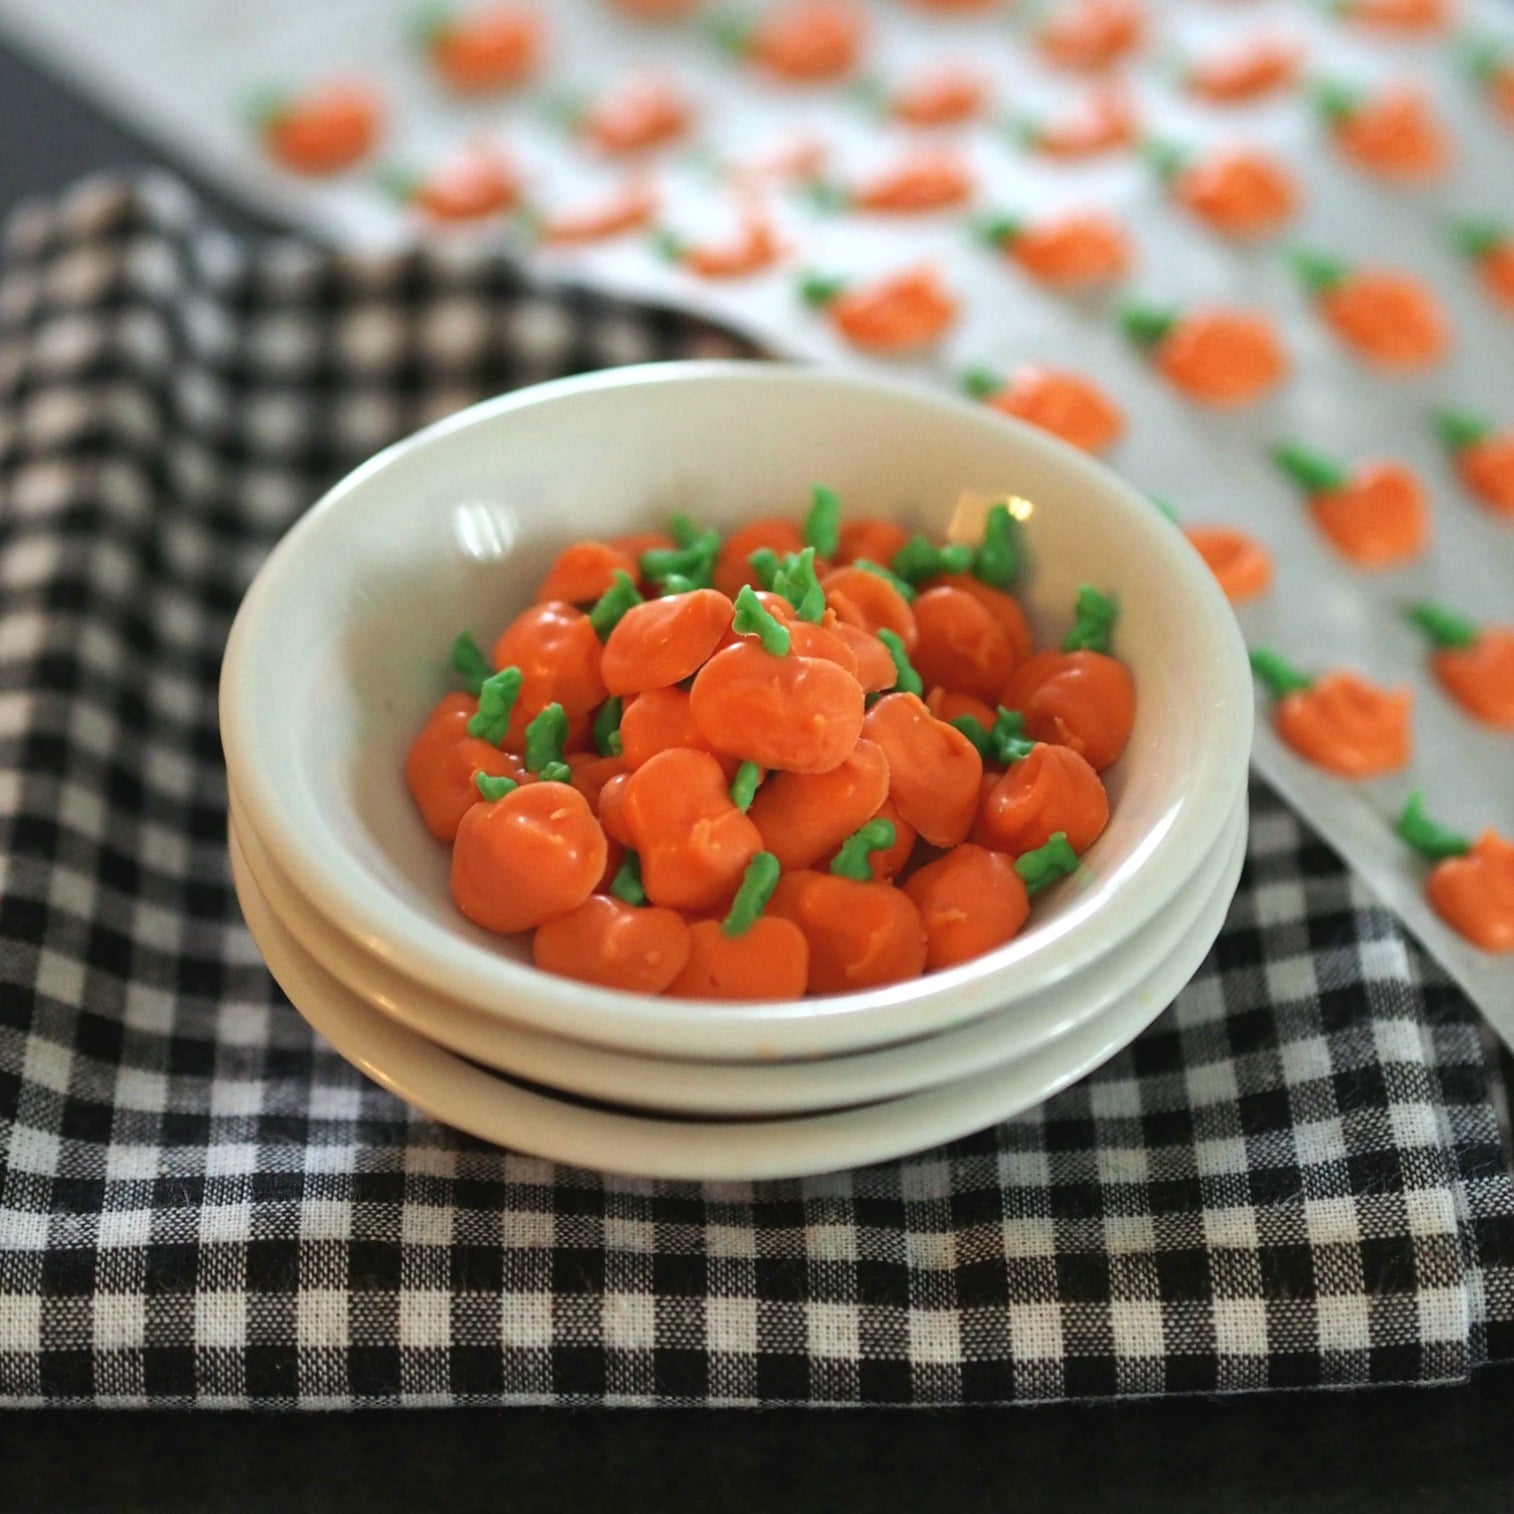
…as mini snacks to satisfy a sweet craving,
…as chocolate pretzel decorations,
…anywhere one needs small edible, pumpkin decorations.
Here are some ways I might use them:
…as bribes to get what I want,
…as money – it is definitely worth a try,
…as edible treats stuck on business cards,
…as earrings,
…in dog training,
…as reward “stickers,”
…in love notes,
…for restaurant tips,
…for potty training,
The list is as long as your imagination.
So, grab some melting chocolate, some food coloring and get started. These are quick, easy and are fun decorations to have on hand during the fall season and will keep indefinitely if kept in an airtight container in a cool, dry location.
Enjoy!!
Note: I actually had the idea for these pumpkin toppers, had purchased Wilton’s Candy Melts in orange then searched the web for a mini-pumpkin template. I found a template I could use at Simply Creating Home (a terrific blog full of creative ideas for most aspects of home life). I also found the EXACT toppers I was planning to make. I guess creative bloggers think alike.
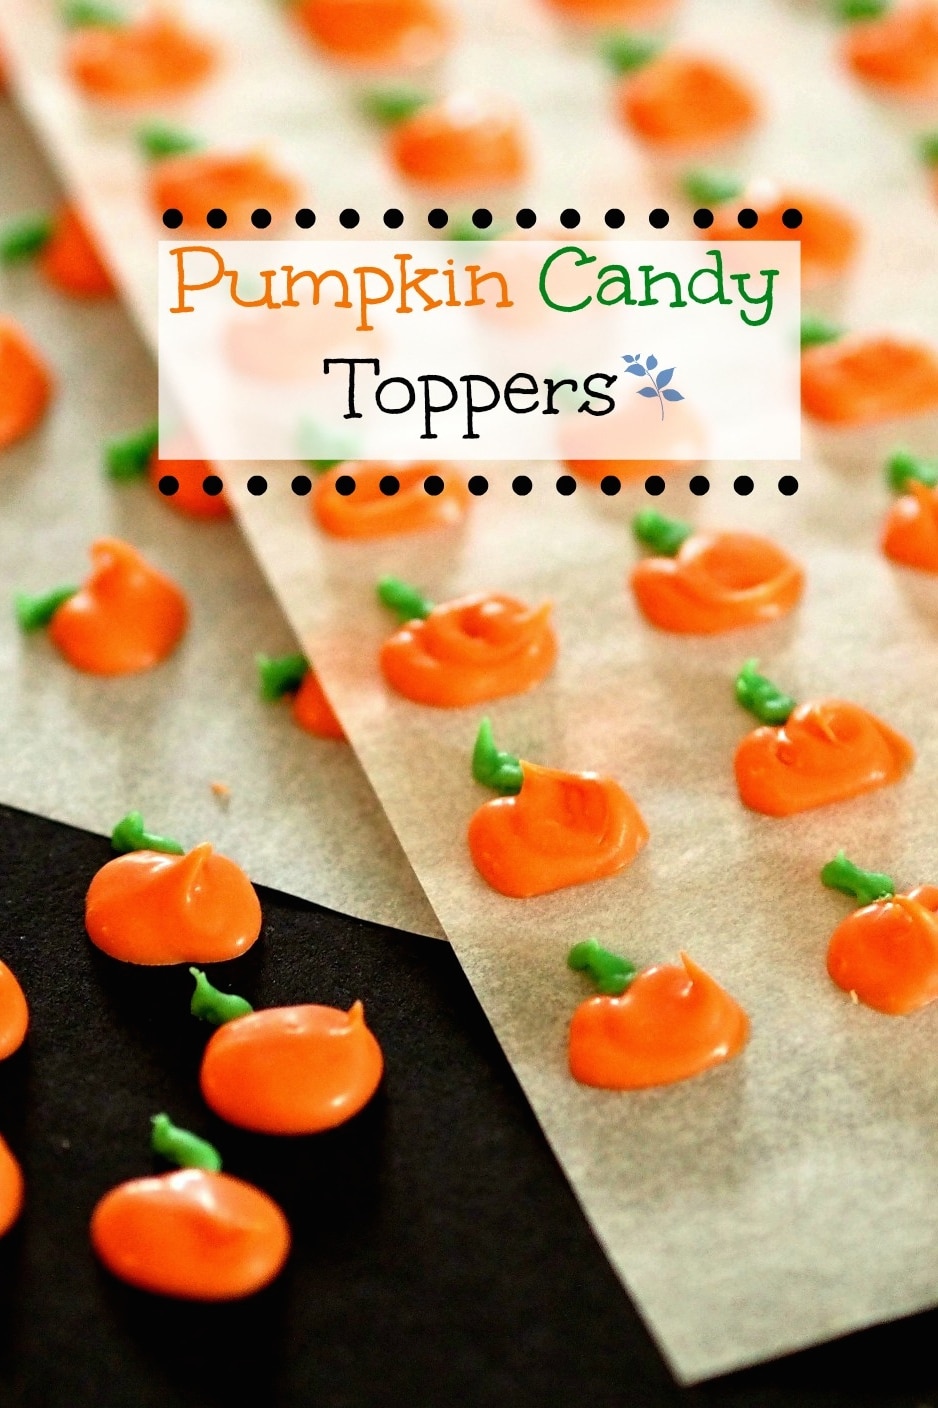

Pumpkin Candy Toppers
Ingredients
- 1 bag Wilton's orange Candy Melts - 1/2 bag is all that is needed
- 1 bag Wilton's green Candy Melts - 1/4 bag is all that is needed
- or
- White melting chocolate and
- candy food coloring in green and orange
- Mini Pumpkin Template
- White Parchment paper or plastic wrap
- 2 decorating bags *see notes
- 2 decorating couplers
- #3 Wilton's decorating tips
Instructions
- On a cookie sheet, tape the template (on the corners only) onto the cookie sheet.
- Cover with transparent parchment paper or plastic wrap.
- Tape the parchment or plastic wrap to the cookie sheet to prevent movement.
- Check out these tutorials on using decorating bags under "cake decorating basics" at http://www.wilton.com/cakes/decorating-cakes/.
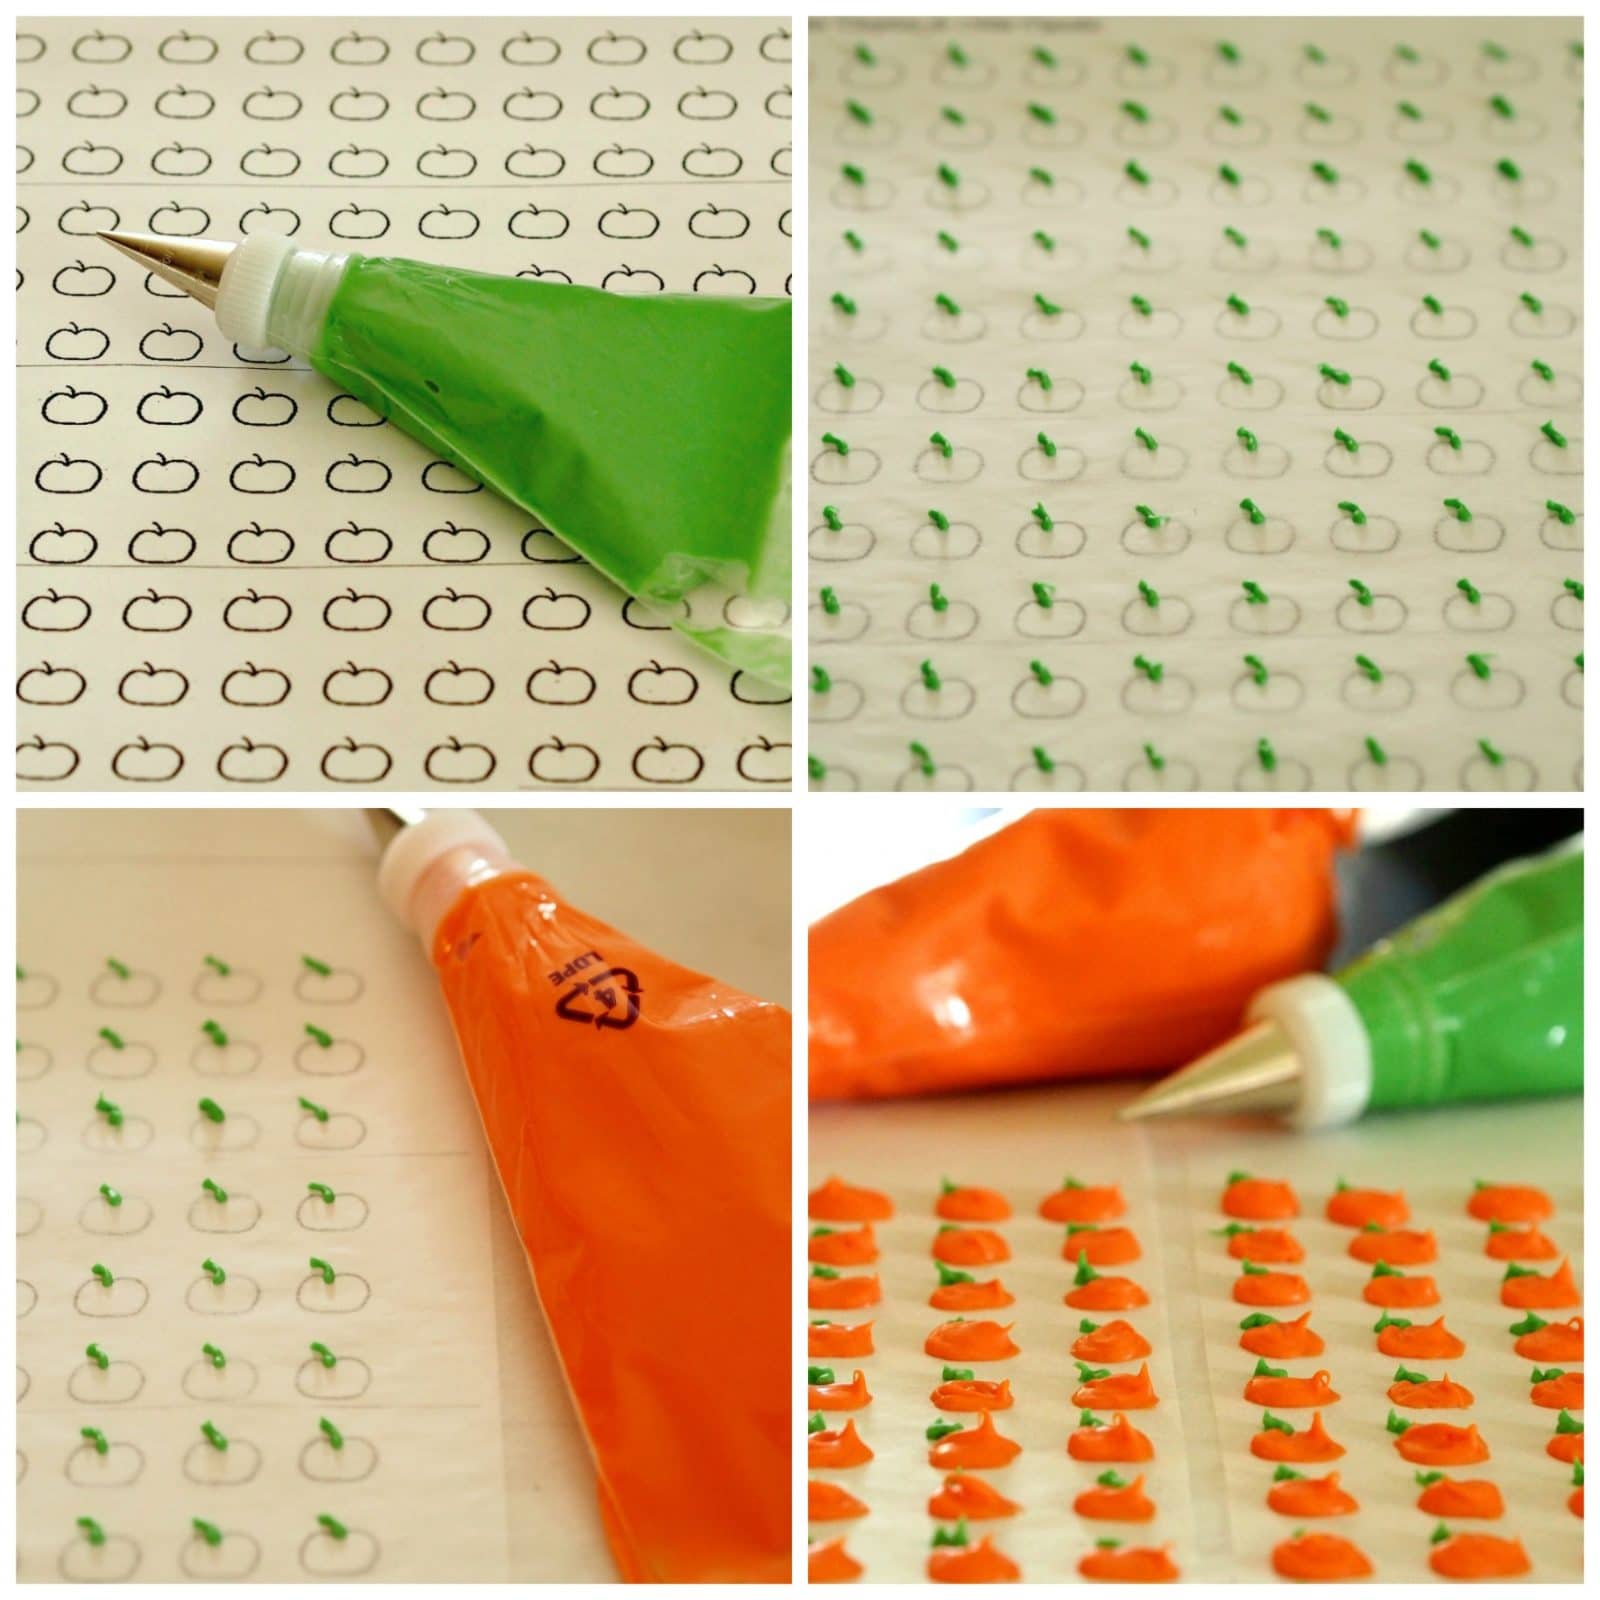
- Begin with the stems first:
- (If using Wilton's Candy Melts)
- Using 1/4 bag, melt the Green Candy Melts per instructions on the bag.
- Trace the pumpkin stem lines on the template and repeat until all are done.
- After all the stems are finished, melt the Orange Candy Melts.
- (If using melted White Chocolate)
- Melt the chocolate per bag instructions then add CANDY food coloring. Stir until well combined.
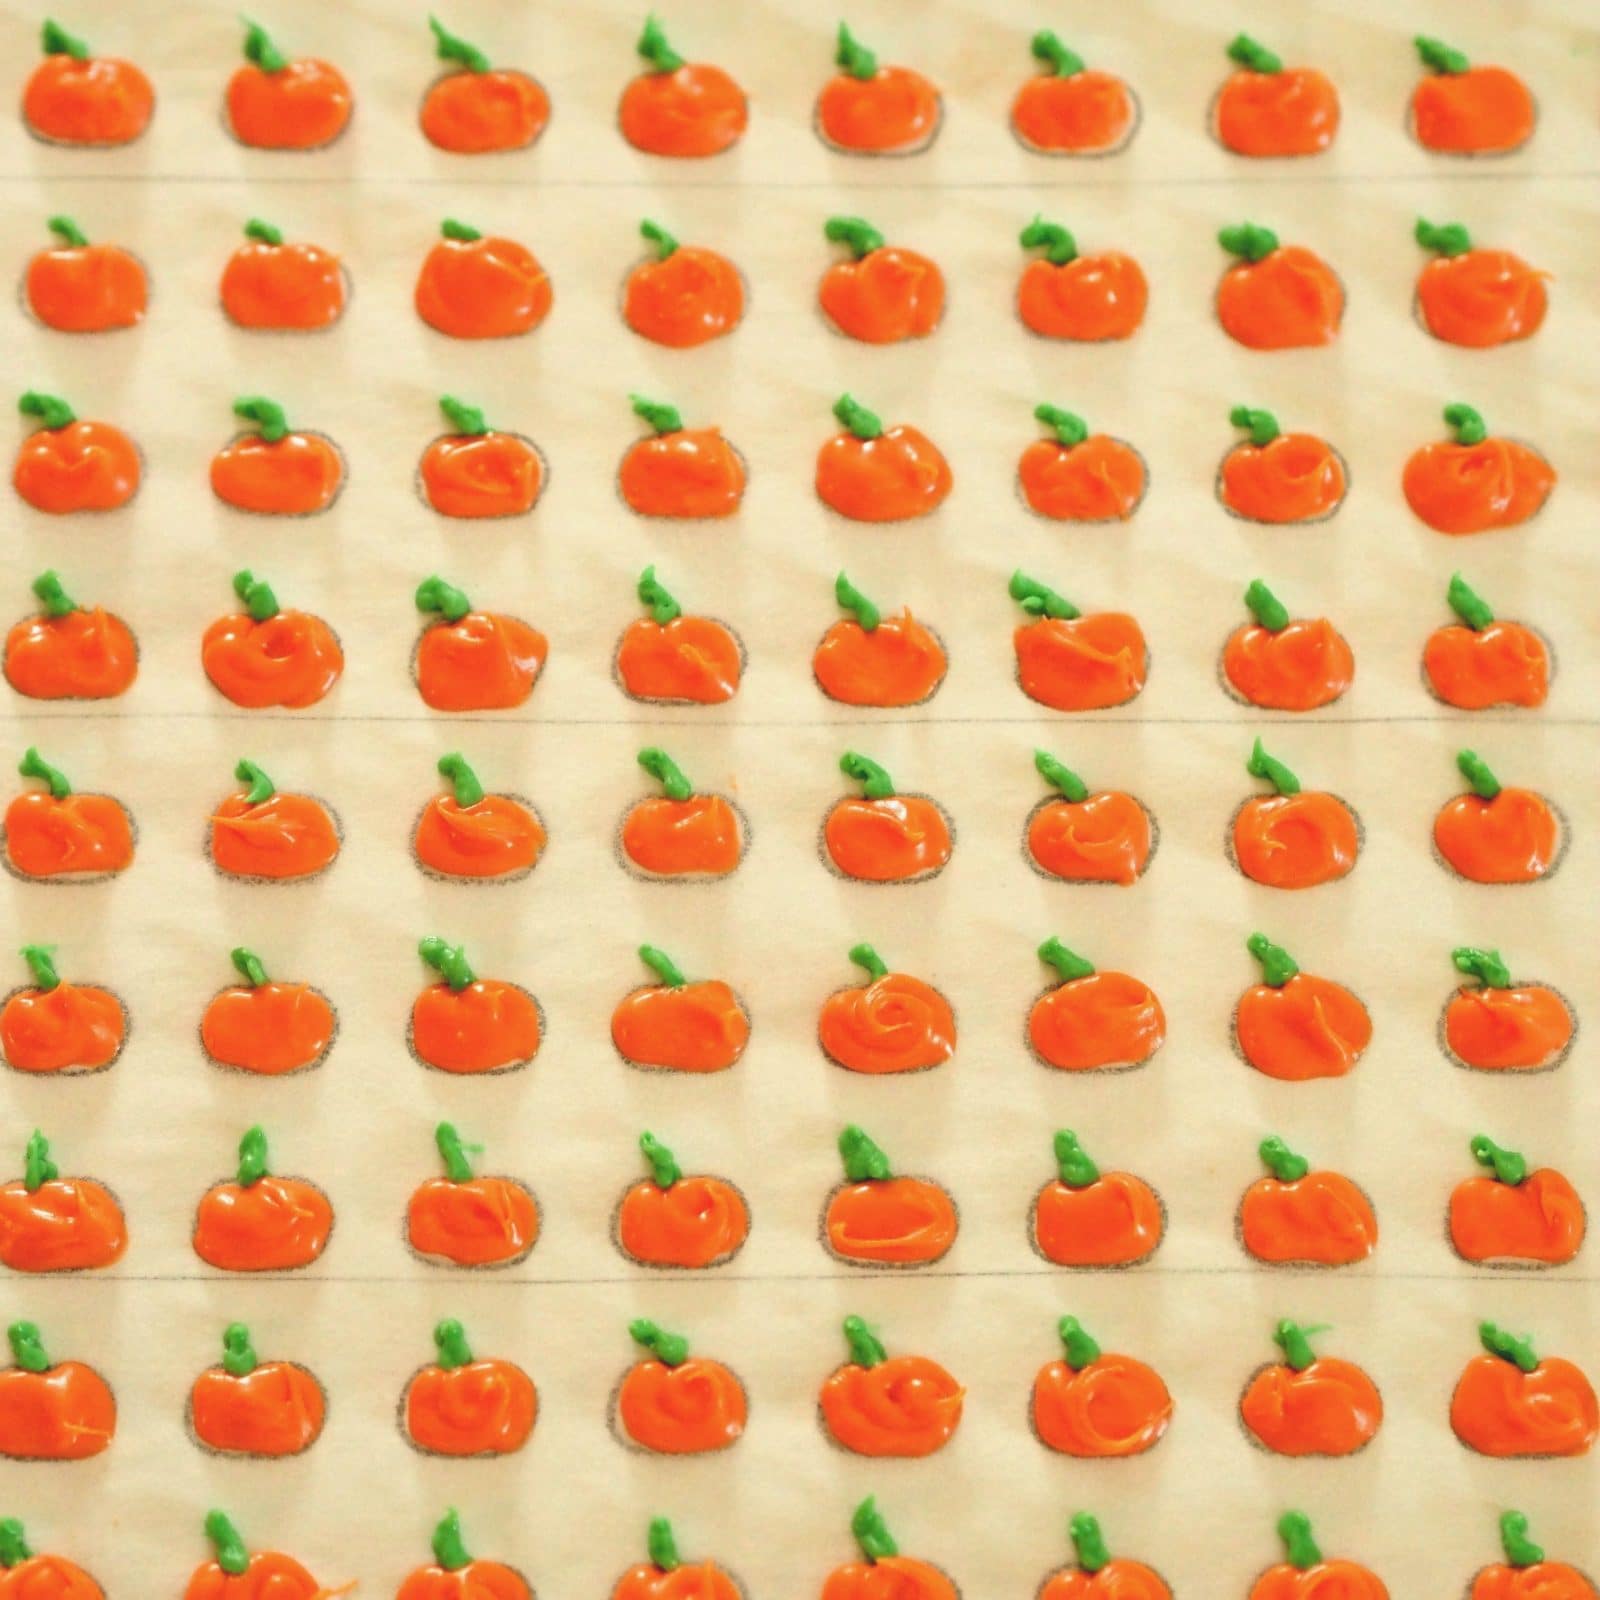
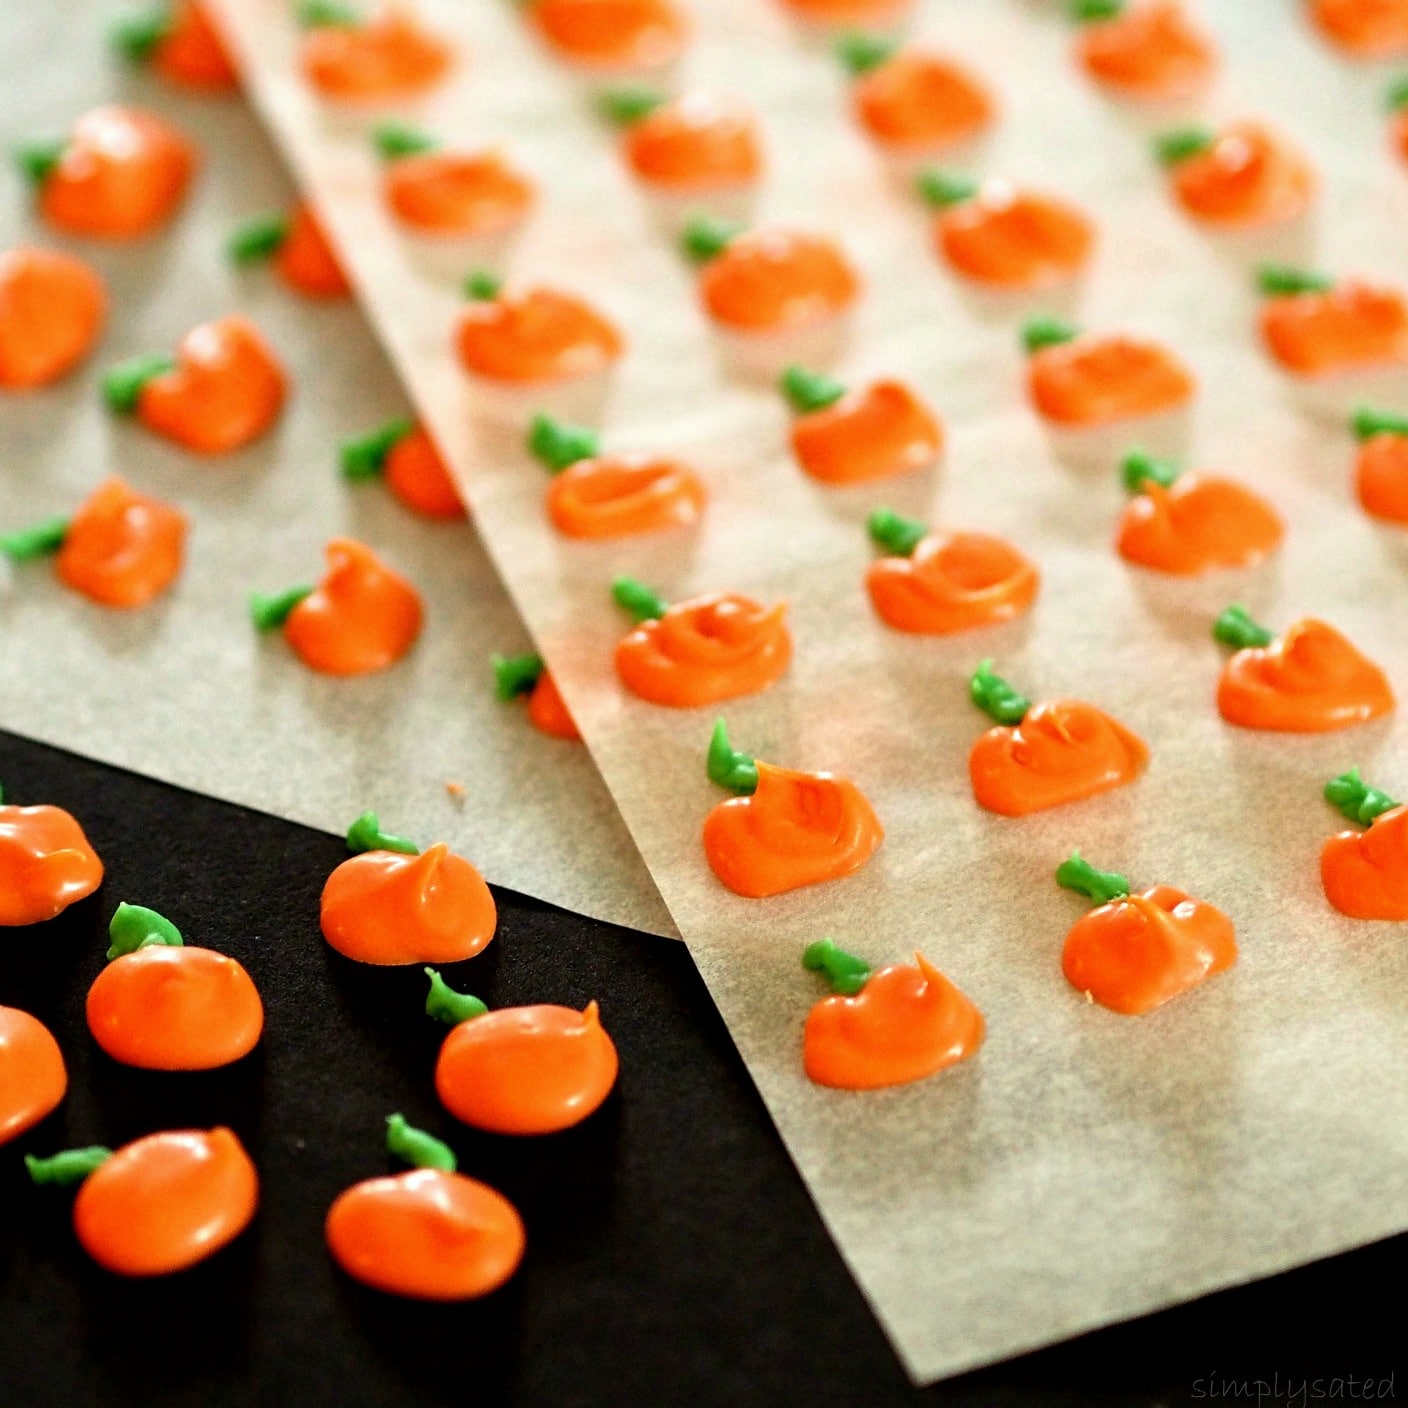
- Fill the decorating bag, outline each pumpkin, then fill in the middle of each pumpkin until all are complete.
- Let the pumpkins harden and cool completely before using.
- Enjoy!
Recipe Notes
If decorating bags and tips are not available to use, Ziploc baggies can be used. Cut a tiny snip in one corner or a baggie then partially fill the baggie with melted chocolate. Squeeze out any excess air and close the bag. Push all melted chocolate to the cut corner and use as a decorating bag. It is still a good idea to watch the tutorials on the Wilton's site.

Becky (The Cookie Rookie)
These are SO cute!! SO many ways you could use them! I love it!Susie Gall
Thanks Bec!!cheri
These are so adorable, what a clever way to decorate for fallSusie Gall
Thanks so much Cheri and thanks for visiting Simply Sated. Please come back soon.Vanessa @ Vanessa Baked
These are so cute! Such a great idea!Susie Gall
Thank you Vanessa. Thanks for stopping by - I'll be adding delicious and fun recipes at least twice weekly, so please come back soon.Cindy @ Hun What's for Dinner?
I love these and love that they are super easy!